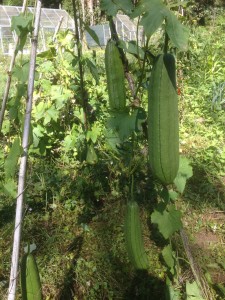
This Summer I tried growing loofahs for the first time. I sowed a few seeds in with the green beans and cucumbers thinking that they could share the fence and trellis, and it turned out to be a good strategy. The loofah is a rampant vine, but it is slow to get going in early Summer, so my beans and cucumbers were finished before the loofahs took over. By Autumn my few plants had spread way beyond their bed, and right along the two fences of the vegetable patch available to them.
Consistent with their slow start, now in Autumn we have a huge crop of both mature loofahs and young ones for eating. The variety I have is the smooth loofah, so it’s similar in shape to a zucchini.
Loofah vegetable
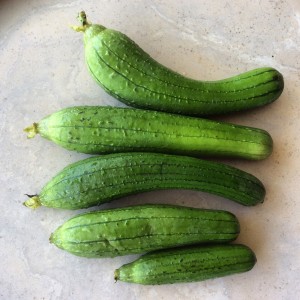
I hadn’t eaten loofah before, and as the plant has a slightly disagreeable smell when you crush it (in the same way that bitter melon does) I put off trying the young fruit, thinking they would probably have that in their flavour. In fact somewhere along the processing that ‘green’ smell disappears, and the cooked vegetable has a unique soft texture and mild taste that compliments a lot of meals.
For eating you pick the fruit when they are less than 30 cm long. I find that the ones still good for eating snap off the vine easily, so that tends to be my test. Preparation is just a light peeling, so that there is still plenty of green in the skin. The simplest recipe I found for them is also a great one to introduce them. Just stir fry them in a little garlic, and finish with some white wine or other liquid. Cut them by holding the knife at an angle and rotating the loofah after each cut, to get roughly 2 cm cubes. If you’re confident you can do this over the pan, holding the loofah in one hand and letting the chunks fall in to the cooking.
Loofah scrubbers
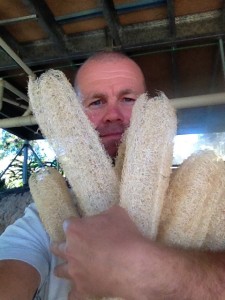
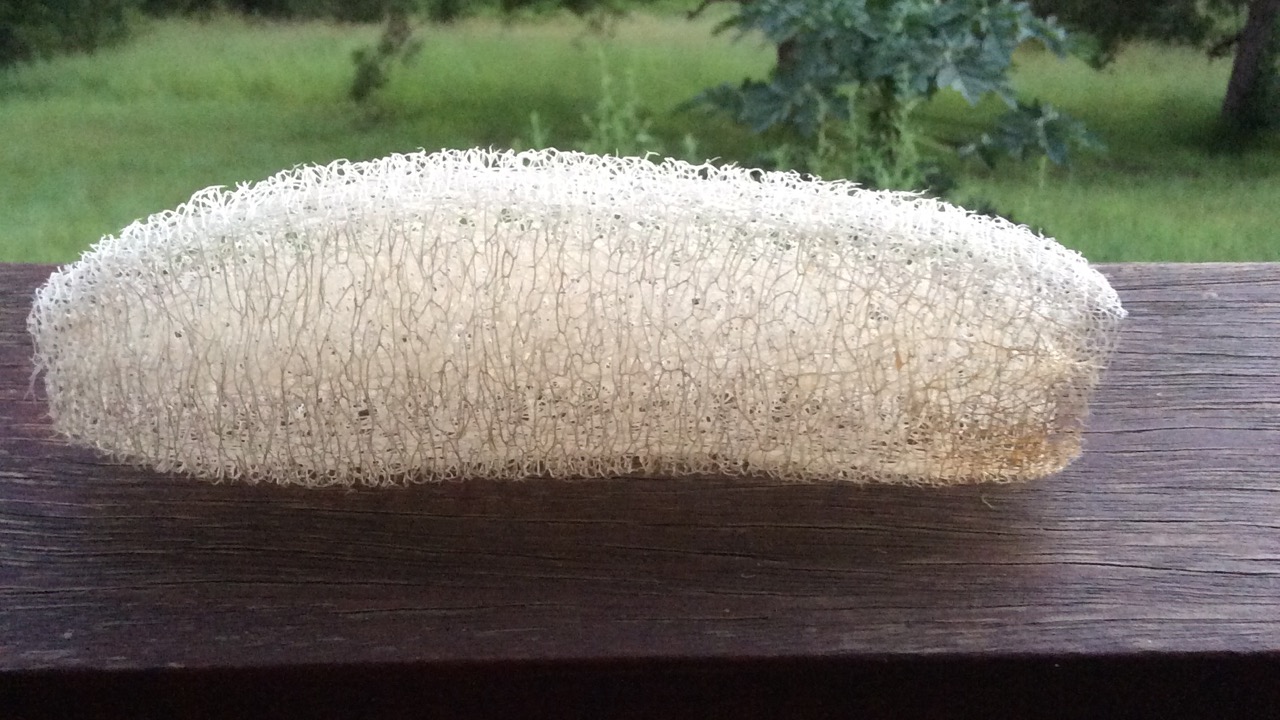
If you let your fruit grow they can reach impressive sizes, and then they become the bath loofah. Harvesting these can be a little tricky as you need to judge the best time to pick and process them. I have seen some people pick them green, freeze them, and then later thaw and process them, but in my experience the green ones are hard to get right, while a properly ripe loofah peels easily and then dries without problem.
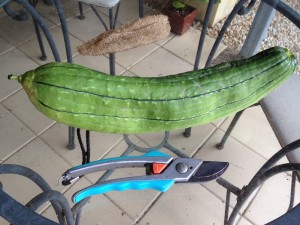
Fortunately they bear abundantly, so you can afford to make a few mistakes and lose them. For me the best guide is when they start to get a yellowish tinge (although they stay green) and possibly a few brown patches on the lowest hanging part of the fruit. In drier climates you might be able to leave them to dry on the vine, but here they tend to rot if they ripen beyond that stage.
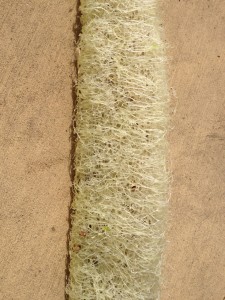
It turns out a good way to process loofahs is also satisfying. I started with just peeling the skin off them with my fingers, but this takes some time, and I got the same result by smashing them. Just throw your ripe loofahs down on a hard surface to smash the skin up, then they peel fairly easily. This method also culls out the immature ones, as they just smash open because the fibres are not strong enough in them yet.
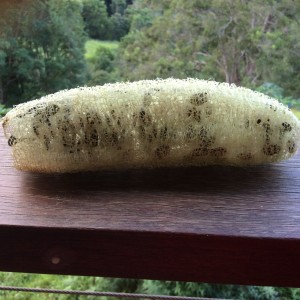
Once your have peeled them you need to get rid of the pulp inside them. The easiest way is to squeeze them out. The fibres are quite tough and will withstand the squeezing, and you can sort of milk out the green pulp and seeds. You need to get rid of this because it will stain the fibres if you leave it, and the loofah won’t be able to dry. Another method is to soak them and let the pulp rot away, but this is slower.
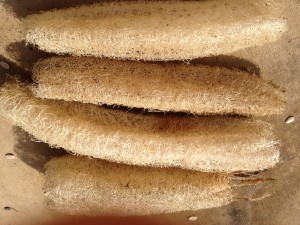
With the pulp largely squeezed out you can soak them or wash them to remove the residue, then put them in the sun to dry.
The seeds will be black if they are properly ripe, or white if they are immature. Either way they make good chicken food, or of course you can save some for next years sowing. Seeds that you haven’t already squeezed out can be shaken out of the skeletons.
A final treatment is to bleach them. This is not essential, but gets them nice and white. Just soak them in 5 % chlorine bleach for a few hours, rinse, and dry again in the sun.

