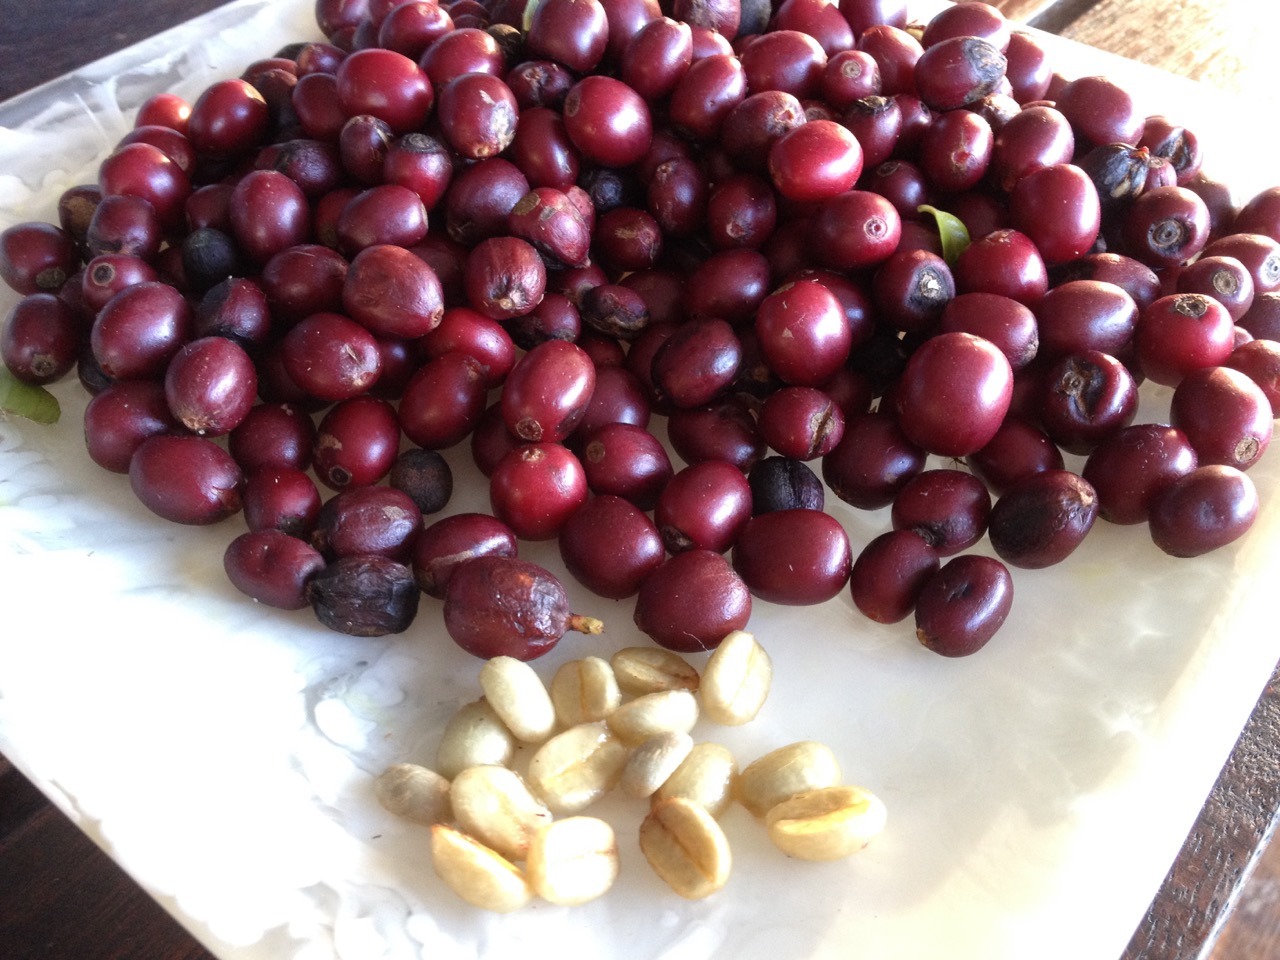
A couple of coffee trees can give you an interesting home addition to your coffee repertoire.
Our place here came with a couple of mature coffee trees, growing under a canopy of tall trees. After some maintenance and two crops, I have learned a few things about processing them for home grown coffee, and decided it’s worth the effort.
Although the processing is a little involved, it can reward you with a good home roast, with no additional equipment if you already grind your home brew.
Growing coffee
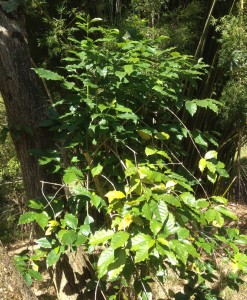
Included in the wide variety of trees in our ‘food forest’ are a few coffee plants. The coffee trees have become shaded by huge Tipuana trees and were very leggy, but gave a reasonable harvest of small beans. After a hard pruning, this years harvest was smaller, but the beans were bigger.
As it is an attractive tree, coffee is often planted as a garden curiosity along the East Coast of NSW, and it does well wherever frost is rare. Coffee can be pruned to a compact small tree, with glossy green leaves and pretty scented flowers in Spring. The berries are also attractive as they ripen through yellow to red to purple.
Coffee likes a rich soil, good drainage, and wet Summers. It can also grow in part shade, in fact some coffee estates provide a ‘terroir’ by growing coffee under shade trees. Ours do well under shade on a steep North facing slope and had fended entirely for themselves for many years, so needed a hard pruning last year to bring the branches back to reachable height.
We seem to have a good climate for growing coffee, indicated by the large number of seedlings that surround the original trees and compete well with the knee-high weeds, but our low altitude is a potentially negative factor. The plants are arabica, which is famous for being grown best at high altitude in the tropics. After reading up, I am still not sure whether altitude is most important for quality of the beans or for simple survival of the plants. As we are at the southerly edge of its range, it’s possible that our cooler weather substitutes a little for altitude.
Processing home grown coffee
I got this all wrong in the first year, which about put me off trying again. If you pick the berries too early it is a tremendous amount of work to remove the beans from the berries and then the parchment. This year, because I wasn’t particularly bothered, I finally picked the beans on a free afternoon when they were very ripe. As you can see in the top photo, they had ripened past red to a burgundy sort of colour, and there were no more green beans on the trees.
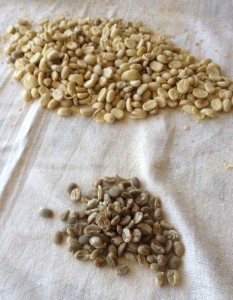
This time it was easy to squeeze the beans out, and if you had a doovey for pushing them through while leaving the pulp, it would be a quick job. Next I soaked them for a few days to ferment off the remaining pulp, then dried them in the sun for a week or so. The beans shrink with the drying, which makes the next step of removing the parchment much easier. Once again, if you had a doovey for rubbing the parchment off, the job would be easier, but it’s not too laborious to crack it off with your fingers.
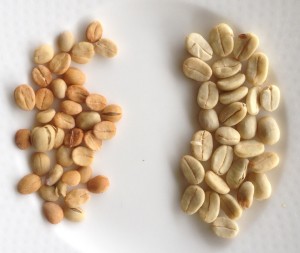
This year the beans were much larger, which I suppose reflects the better cultivation conditions. Roasted, they were the same size as the quality locally roasted beans we buy.
By the way, the beans are really very tough, so there’s no concern about being too rough and cracking them with these treatments. You can rub them in a tea-towel, on an old washboard, whatever works.
Removing the parchment leaves you with the green beans, with some silvery chaff which you can rub off or winnow off after roasting. These can (and probably should) mature for a while, but who’s got patience for that with a new crop? I wanted to see what this year’s home grown coffee tastes like.
Roasting
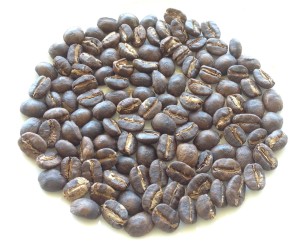
Roasting beans on the stove is not difficult, at least in small batches. I just covered the bottom of my smallest saucepan with beans, then shook it on medium heat. You can hear the two cracks, which are a bit like corn popping, although not nearly as energetic. You have to shake pretty much constantly but it’s no worse than stirring a custard for requiring endurance.
Then just tip the roasted beans out to cool. Again, roasted beans really need to sit for a few days to release their CO2, but how do you know it’s worth a second batch until you try the first? So I ground mine straight away and made a couple of cups.
 The verdict? Not bad. The first roast was too light for the beans, and combined with the residual CO2, made an acidic cup, but the background flavour was pleasant. The crema was good, but also very pale, indicating the roast should have been darker.
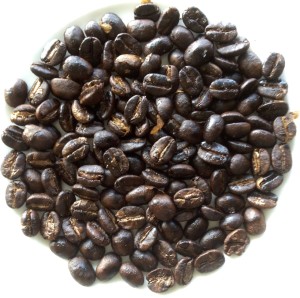
A second, more thorough roasting gave beans with the oily sheen of a dark roast. The trick here was to have no fear with the roasting and take it right through to the second crack. As long as you keep them shaking the beans won’t burn. This was more like it! I also had the patience to leave them to settle for a week before grinding them.

The second pair of espressos had nice brown cremas, and actually tasted very nice, with no overbalance of acidity and no aftertaste.
The result was much better than I had been expecting, and I would be happy to have it as my daily coffee.
Now I’m already looking forward to next year’s crop, and to my ten or so transplanted seedlings coming into production. If you’ve got the climate, or certainly if you’ve got the trees already growing, I’d encourage you to give home grown coffee a try.

